How to Find HVAC Ducts Before Drilling Into a Ceiling
To find HVAC ducts before drilling into a ceiling, combine your home's plans with a look at accessible ductwork, registers, framing, and suitable detection tools. Then mark the proposed hole only after you've established what's above it.
No single clue can show every hidden duct, wire, or pipe. Direct observation is the strongest starting point, and an uncertain ceiling is a reason to pause. Here's how to trace the route before you pick up a drill.
Start With HVAC Plans and Room Measurements
If you have HVAC plans, look for the air handler, main supply trunk, branch ducts, and return paths. Plans may be included with construction documents, remodeling records, or paperwork from a system installation.
A drawing gives you a starting map, but equipment and ducts may have moved during later work. Treat the plans as a guide for your inspection rather than a precise picture of the ceiling today.
Find the Proposed Mounting Area
Identify the room and the area where you want to install the fixture. Measure the proposed location from two fixed, perpendicular reference surfaces, such as finished interior walls.
Write down those measurements along with the fixture's size and mounting-hole pattern. You'll need the entire pattern, not only its center point, because a bracket can have several fasteners spread across the ceiling.
Compare the Plan With the House
Match room outlines and visible registers to the drawing. Note any addition, relocated wall, or changed vent that suggests the plan may be outdated.
Also look for soffits, dropped ceilings, or boxed-in sections. These can conceal ductwork even when there's no visible register nearby. Mark those areas as possible routes on your sketch, but don't assume a duct follows a straight line between the air handler and a vent.
Inspect Accessible Attic or Basement Spaces
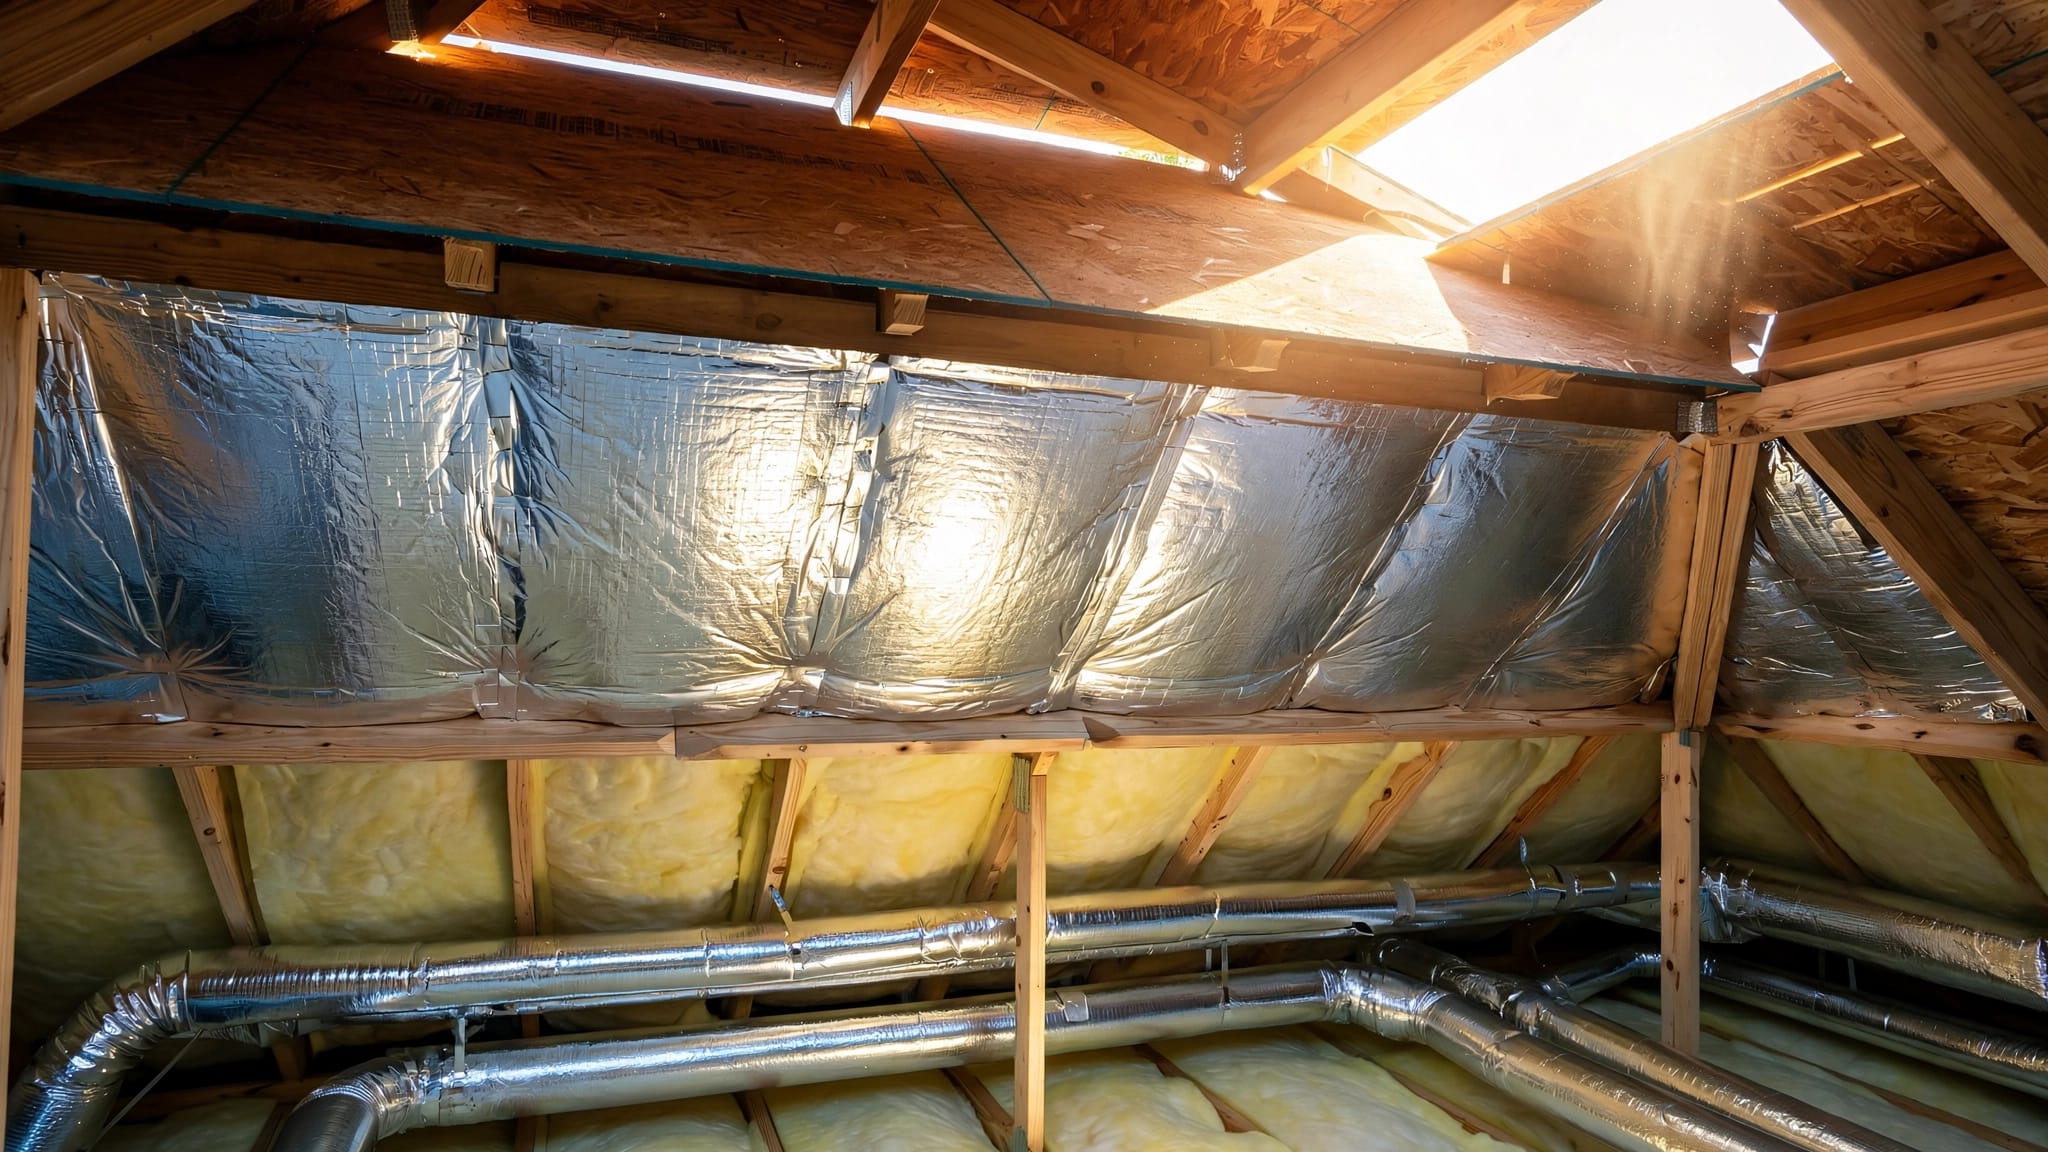
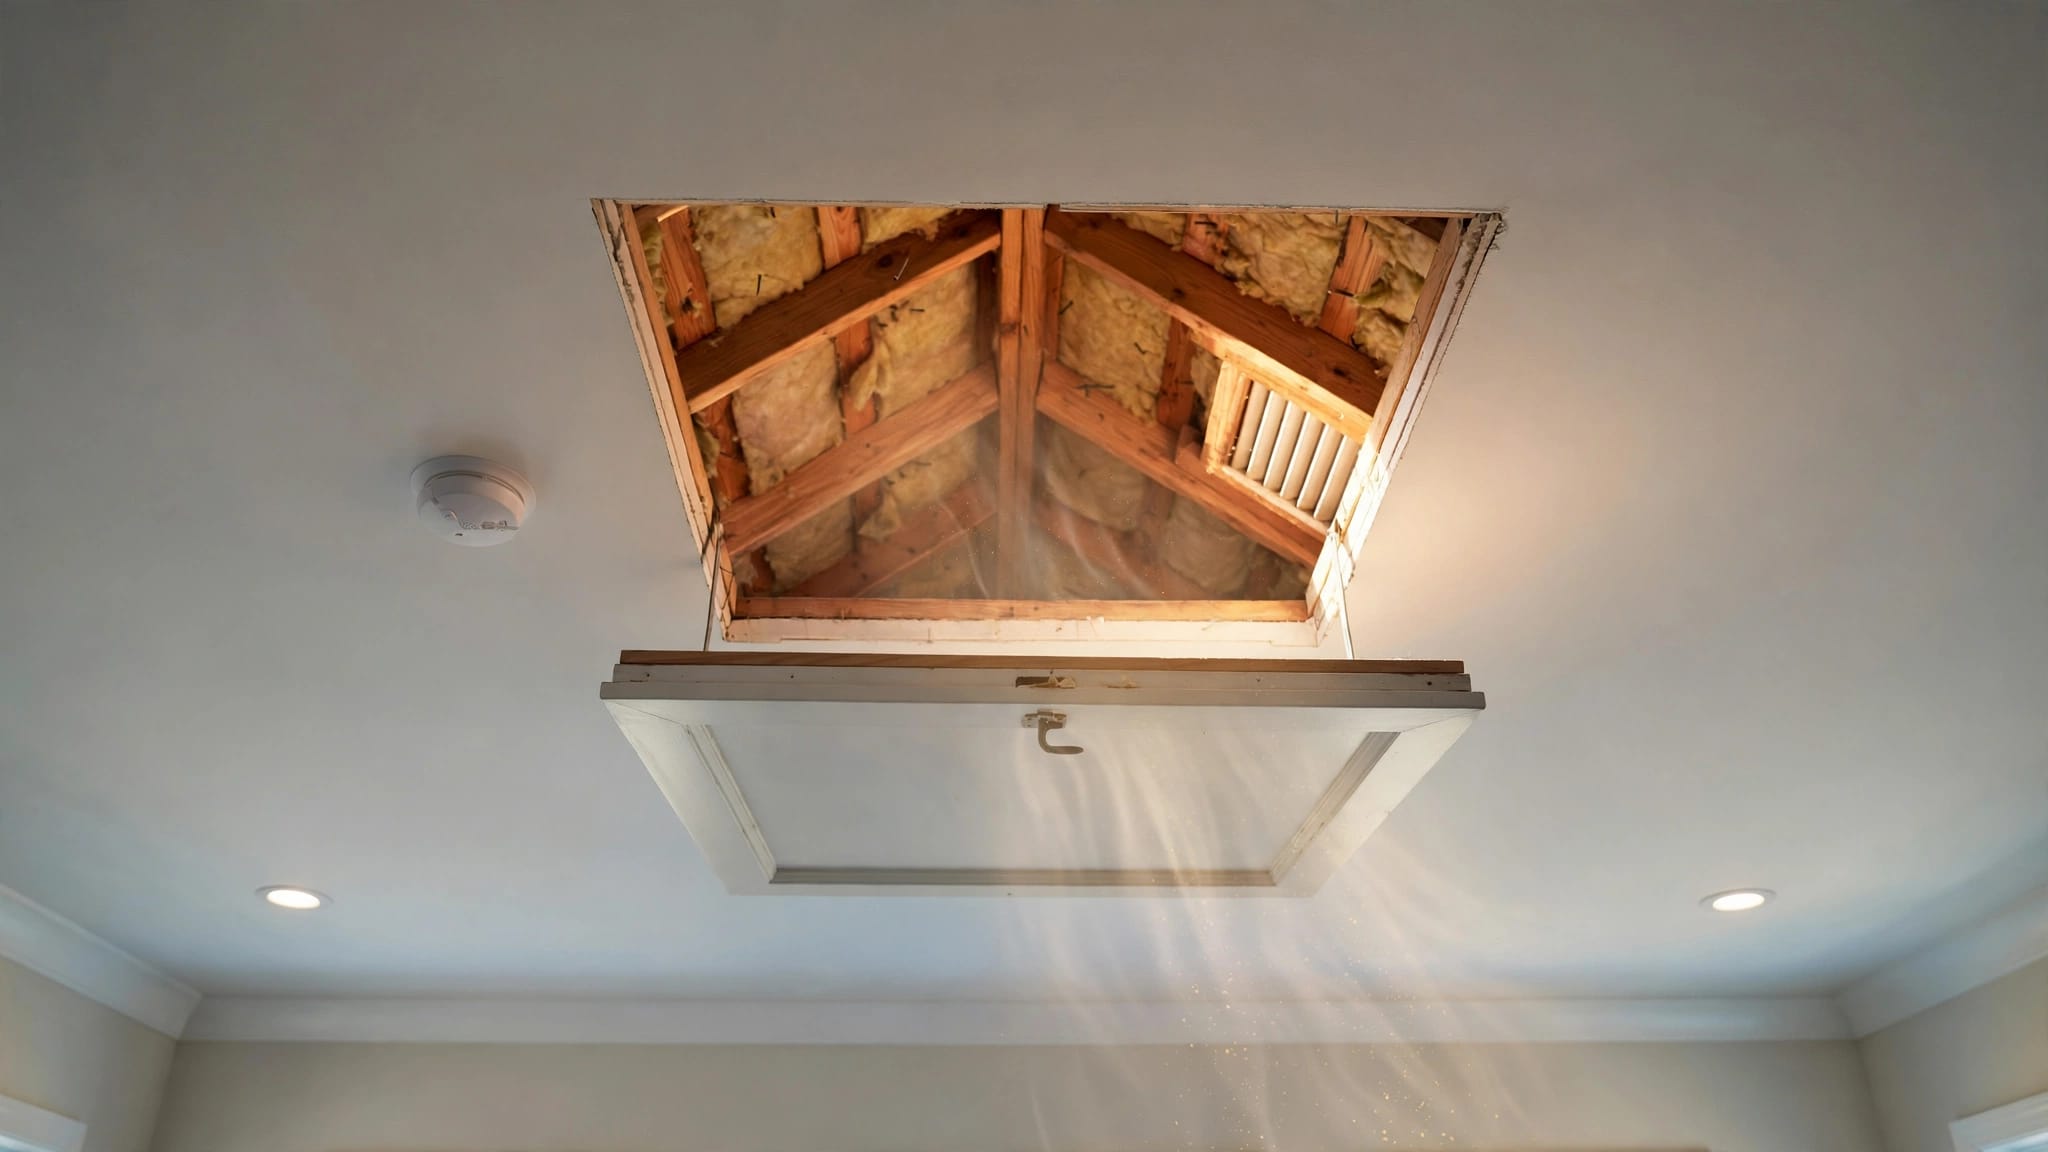
A safe view of the ductwork can reveal more than a ceiling scan. In many Southwest Florida homes, the attic contains insulated ducts connected to the air handler. Other systems have accessible runs in a basement, mechanical space, or above a removable ceiling.
Follow Visible Ducts
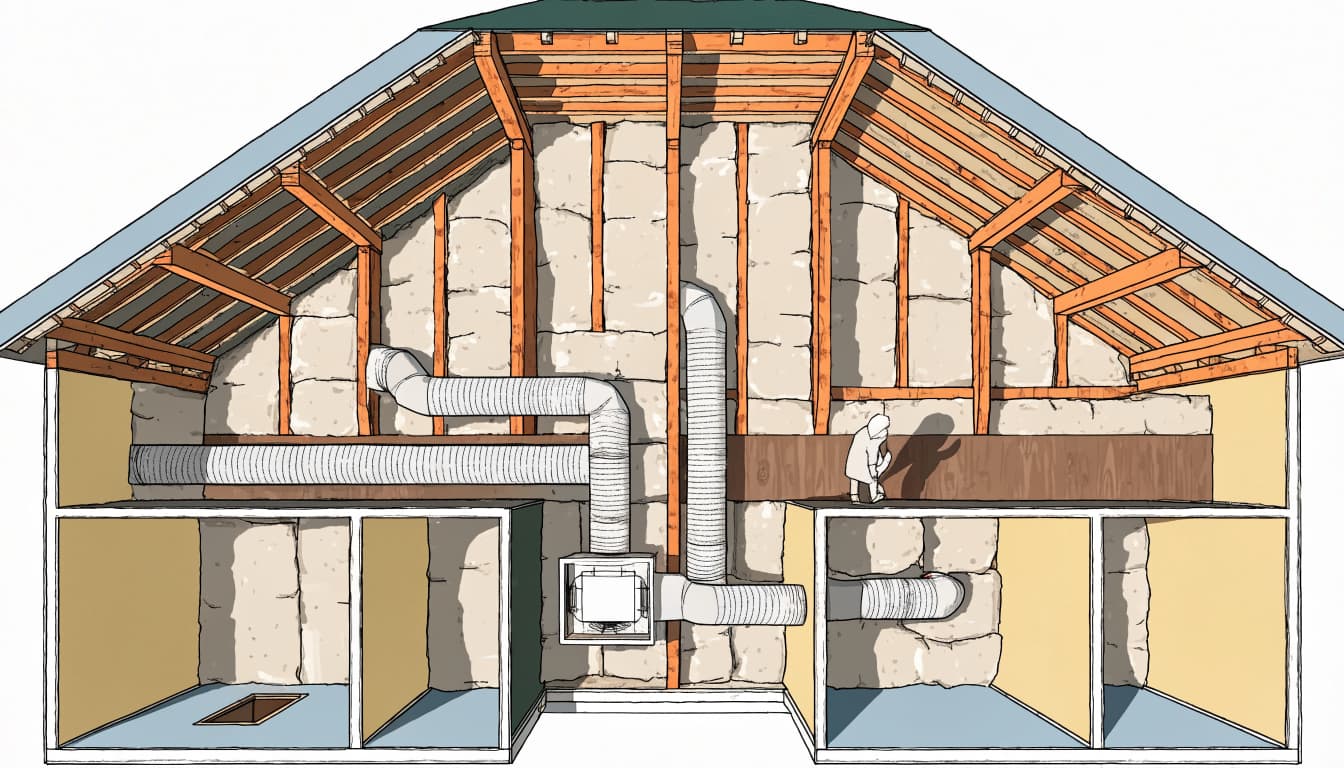
From a safe access point, look for the larger trunk and the branches leading toward the room. Flexible ducts often have an insulated outer jacket. Sheet-metal ducts may also have insulation around them, so what you see can be wider than the air passage inside.
Note bends, connections, and the space occupied by each visible run. Your sketch should include the duct's outer insulation, not just its inner liner. Our comparison of flex and sheet-metal ductwork covers how the two materials differ.
Keep Attic Safety in Mind
Attics can be hot and difficult to move through. Ceiling drywall isn't a walking surface, and insulation can conceal framing, wiring, or openings. Don't enter a hot or difficult attic to investigate a drilling location.
If there's a safe walkway and a clear view, take photos that show the duct in relation to recognizable framing or walls. Avoid moving insulation or ducts to improve the view. Crushed flex duct and torn insulation can interfere with airflow or allow moisture problems.
Map Supply Registers and Return Grilles
Walk through the rooms near your proposed hole and sketch the ceiling registers and return grilles. Supply registers deliver conditioned air. Return grilles draw room air back toward the air handler.
A register tells you that a duct connection or boot is nearby, but it doesn't reveal which direction the duct approaches. A return grille may connect to ductwork or another return-air assembly that takes up more space than the visible opening.
Pay attention to adjoining rooms, too. A branch serving the next room may pass over the ceiling where you plan to drill. Similarly, a large trunk can run through a hallway or soffit before smaller branches split off.
When the system is running, airflow can help distinguish a supply from a return. Leave registers open and unobstructed while you observe them. Airflow direction is useful for your map, but it doesn't establish the hidden duct's full route or width.
Account for Joists and Other Framing
Use a stud finder intended for ceilings to locate possible framing, then mark the edges of each indicated joist. Scan across the ceiling in more than one direction and compare the readings with any framing you can see from an accessible space.
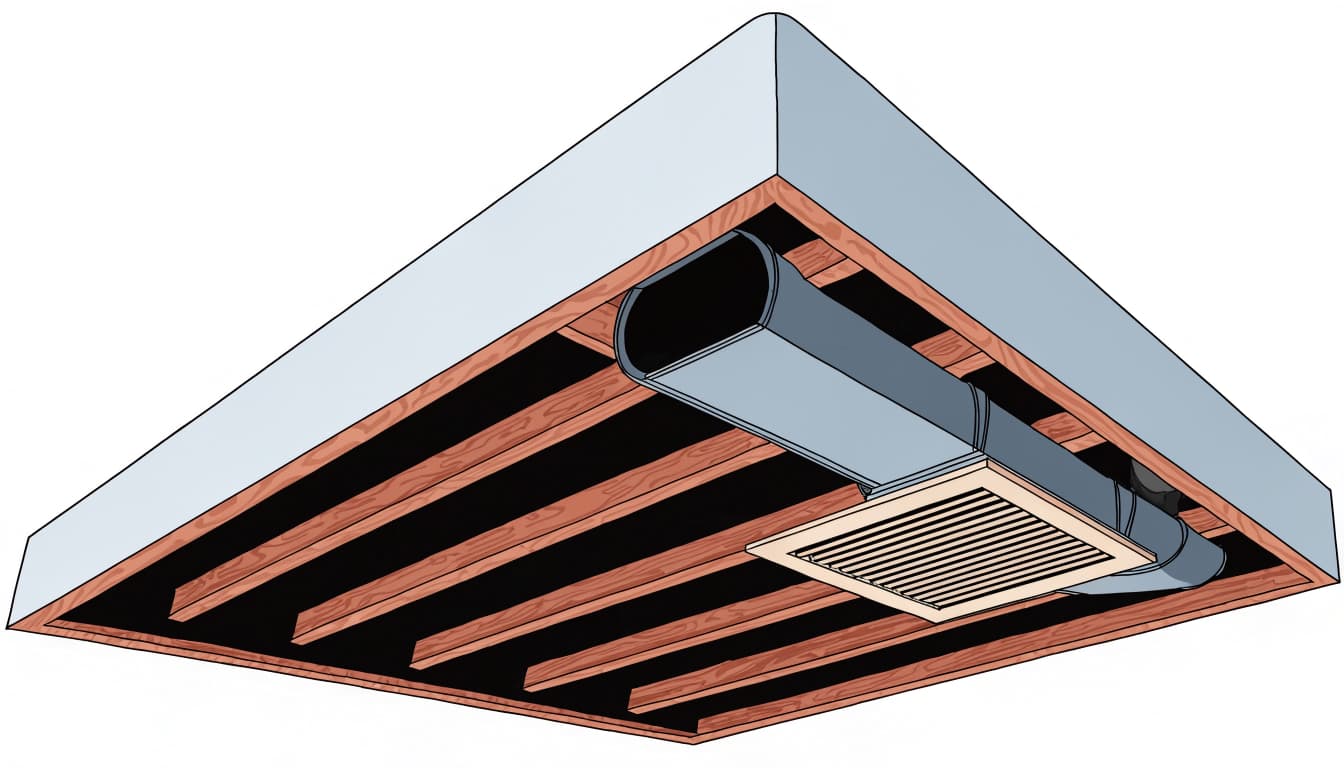
Joists are useful reference points, but the spaces between them aren't automatically empty. Ducts, electrical cables, and plumbing can share those spaces or cross the area you're investigating. A duct may also run above framing rather than neatly between two joists.
The fixture matters here. A ceiling fan, heavy light, or suspended storage may need a mounting box or support designed for that load. Follow the fixture's mounting instructions, and don't assume drywall alone can support it.
Even when a fastener needs to enter a joist, consider its full depth. You need to know what lies beyond the intended attachment point as well as what lies directly behind the drywall.
Choose Detection Tools for the Ceiling
Detection tools can add clues to your sketch, but their results depend on the device, ceiling material, and what lies behind the surface. Read the instructions for the tool you're using and understand what its different modes are designed to detect.
Stud Finders and Electrical Scanners
A stud finder can help identify framing, while some models also have a metal or live-wire detection mode. Scan slowly over a wider area than the fixture's footprint. Mark the edges of readings rather than drawing a single point.
Metal detection may pick up a sheet-metal duct, fasteners, conduit, or another object. It won't identify every duct material, and insulated ductwork may be difficult to distinguish. Live-wire detection also has limits, so a quiet reading doesn't prove the ceiling is free of electrical wiring.
Inspection Cameras and Thermal Images
An inspection camera can help a professional look inside a cavity through an existing, suitable opening. Don't create a new hole blindly just to insert the camera, since the hole itself could strike a hidden service.
A thermal camera may show temperature differences associated with HVAC operation. However, insulation, framing, and other conditions can affect the image. Use any thermal pattern as a clue to investigate, not as a confirmed duct outline.
A scan without an alert is not proof that a drilling point is clear. An insulated flex duct may not produce the same reading as exposed sheet metal.
Combine the Clues and Mark Your Proposed Hole
Bring your plan, room sketch, measurements, photos, and scanner marks together before selecting a drilling point. The goal is to relate the proposed mounting pattern to the actual ductwork and other services, rather than choosing a spot based on one reading.
Transfer Measurements Carefully
Use the same fixed reference surfaces on both sides of the ceiling where possible. Account for wall thickness and layout differences when comparing an attic view with the room below. A wall visible upstairs may not line up with the finished wall face below.
On the room-side ceiling, use removable painter's tape to mark visible register edges, possible framing, and the fixture's hole pattern. Label uncertain areas on the tape so you don't mistake a likely route for an observed one.
Establish a Clear Mounting Area
Compare every planned fastener location with the area you can directly observe above. Include duct insulation and the full length of each screw or anchor in that assessment. Also consider wires, pipes, and any other service in the area.
If you can't establish a clear path for every hole, move the fixture to a location that can be assessed or get professional help. A few inches of adjustment may change the mounting location, but there's no universal distance from a register that guarantees a clear ceiling.
Prepare to Drill Only After the Area Is Clear
Once you've established a suitable location, use the mounting method specified for the fixture and its weight. Match the bit and fasteners to that method, and keep the planned penetration as shallow as the installation permits.
A drill stop can help limit bit travel, but it doesn't make an unknown cavity safe. The anchor or screw may extend farther than the bit, so account for both. Wear eye protection and keep stable footing on a suitable ladder.
Older textured ceilings deserve extra care. Some ceiling materials may contain asbestos, and disturbing them can release fibers. If you suspect the material contains asbestos, leave it undisturbed and arrange professional assessment before drilling.
For a ceiling fan, light, or another electrical fixture, electrical work adds a separate risk. Have a qualified electrician handle the installation if you're unsure about wiring or the required support.
What to Do if You Hit a Duct or Wire
Stop drilling immediately if you encounter unexpected metal, insulation, resistance, or a hidden object. Don't keep driving the screw to see whether it passes through.
If you suspect contact with an electrical cable, don't touch the bit, drill, or damaged area. Shut off power at the breaker only if you can reach it safely without touching the affected equipment, and call an electrician.
For a suspected duct puncture, leave the area accessible and arrange an inspection. Damage can affect more than the duct liner. In a humid Florida attic, a torn insulation jacket can also allow moisture to reach a cold duct surface.
A technician can inspect the duct and determine whether it needs sealing, insulation repair, or replacement of a damaged section. Our guide to return duct leaks explains why an opening on the return side deserves attention.
At Valor Heating & Cooling, we provide HVAC repair and inspection in Fort Myers. If you need help assessing accessible ductwork or suspected damage, you can Schedule an Estimate.
Make the Ceiling Map Before You Drill
The safest location comes from combining what you can observe with your plans, measurements, and tool readings. Registers and joists help you trace possible routes, but they don't reveal everything above the ceiling.
Mark the full mounting pattern only after you understand the space it occupies. If a duct or another service remains hidden, pause the project until the area can be assessed.
Recent Posts